
How to Enable GitHub Copilot Within Your Organization
This blog post was written for future Richard and anyone else who might be looking for documentation on where to start with enabling GitHub Copilot within an organization. The process is pretty simple but might be diffcult to find where to start.
What is GitHub Copilot?
GitHub Copilot is an AI-powered autocomplete tool that acts as a peer programmer, assisting in writing code. if you want to dive deeper into Copilot you can find more information about GitHub Copilot on the github resource site.
How to Enable
To enable GitHub Copilot within your organization, you’ll need to follow these steps. I’m going to assume you’ve already logged into your GitHub organization. Also, I’m assuming you are authorized to Enable Copilot for a Business subscription. Start by going to this URL https://github.com/features/copilot.
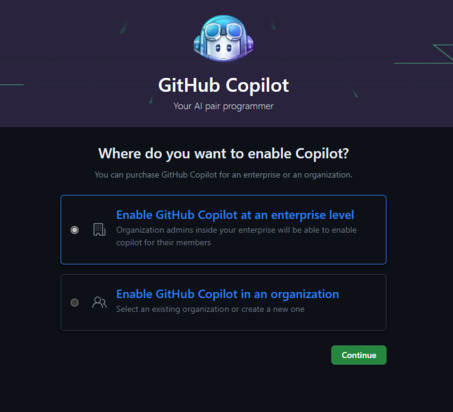
Step 1: Decide Enterprise or Organization
The first decision you’ll need to make is whether you want to enable GitHub Copilot for the entire enterprise or just for your organization. This choice will depend on your specific needs and requirements.
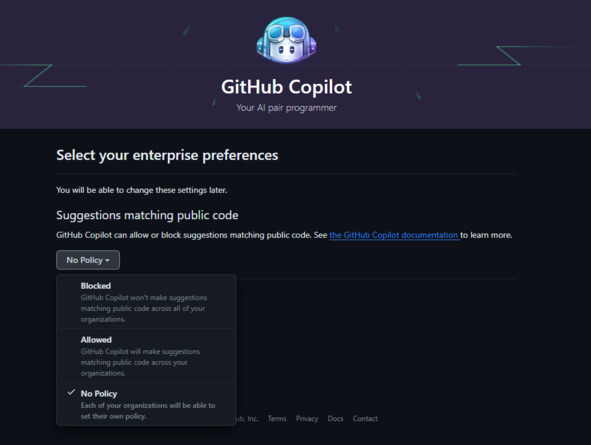
Step 2: Choose a Policy
When enabling GitHub Copilot for an enterprise, you’ll need to select the type of policy you want to apply to that enterprise. There are currently three options available:
- No policy: This option allows GitHub Copilot without any restrictions.
- Allowed: With this policy, Copilot is enabled, but there may be some restrictions in place.
- Blocked: This policy completely blocks the use of GitHub Copilot.
If you’re unsure about which policy is the best fit for your organization, consult the documentation and select the appropriate option based on your needs.
Step 3: Configure Policies and Features
After choosing a policy, it’s important to configure the policies and features within your organization. You can find this option under the organization’s settings.
- Go to the settings page of your organization.
- Look for the “Copilot” section, which should have two sub-menu options: “Access” and “Policies and Features.”
By default, GitHub Copilot for IDEs is disabled, and the “Suggestions matching public code” option will be in an unconfigured state. You can adjust these settings to align with your organization’s requirements.
Step 4: Notify Your Users
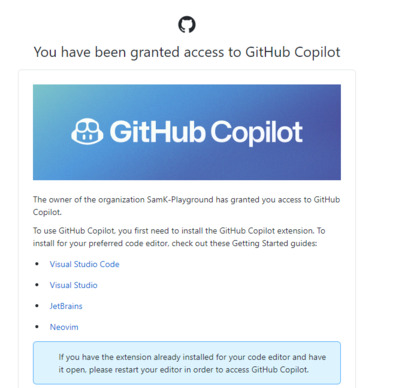
Once you’ve completed the configuration, your users will receive an email notification stating that GitHub Copilot has been enabled within their organization. They can then start using Copilot to enhance their coding experience.
It’s worth noting that users who have already enabled Copilot extensions in their Integrated Development Environments (IDEs) may need to shut down and reopen their IDE or possibly disable and re-enable the extension for it to work seamlessly with the newly enabled Copilot features.
Enabling GitHub Copilot within your organization can greatly improve your team’s coding productivity and efficiency. By following these steps, you can make the most out of this powerful tool. If you have any questions or need further assistance, refer to the GitHub documentation for detailed guidance.
Additional Information
https://www.sitepoint.com/github-copilot-ai-pair-programming/
https://learn.microsoft.com/en-us/training/modules/introduction-to-github-copilot/